Microsoft Word is the most popular tool for people to create content with words, tables, and images. Nowadays, Microsoft Word has well developed, and it offers compatibility for people using any devices to access the content editing functions.
So today, this article will lead you through the ways to add fonts to Word document on different devices with the help of Microsoft Word. By using the fonts you like, you can make the text content of the Word document to be more personalized and special.
Contents
Part 1. How to Download Fonts on Windows/Mac
Part 2. How to Add Fonts to Word on Windows/Mac
Part 3. How Do I Use A Font That I Downloaded in Online Word
Part 1. How to Download Fonts on Windows/Mac
Before adding a font to the Microsoft Word software, firstly, you should download the fonts you require to your desktop. Here is how to download fonts on Windows and Mac. With the downloaded fonts, then you can continue to add them to Microsoft Word.
Download Fonts to Windows Desktop
Step 1. Firstly, you need to go to the font manager on your Windows desktop. So just go to "Start" > "Control Panel" > "Fonts".
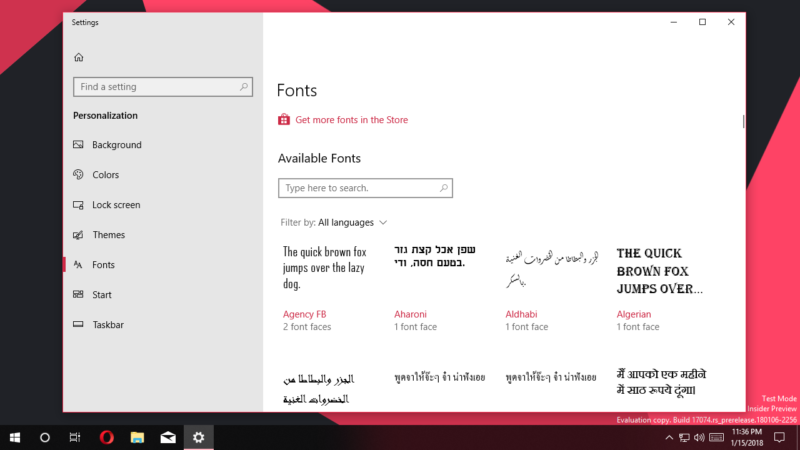
Step 2. Now, from the font menu, you should select the font you want to add to Microsoft Word and download it.
Step 3. After the font is downloaded, it will be saved to the folder on your Windows desktop in a TTF or OTF format. If it's a Zip file, you need to extract it.
Tips
"If you share a Word document contains some special fonts that other computer don't compatible with, the document won't display with the original fonts. How to fix it? You just convert the Word to PDF, and it will be able to maintain the same fonts (most of the fonts) when other people open your file."
Download Fonts to Mac
Step 1. On the Mac system, people need to install a font manager before all. Here Font Book is recommended.
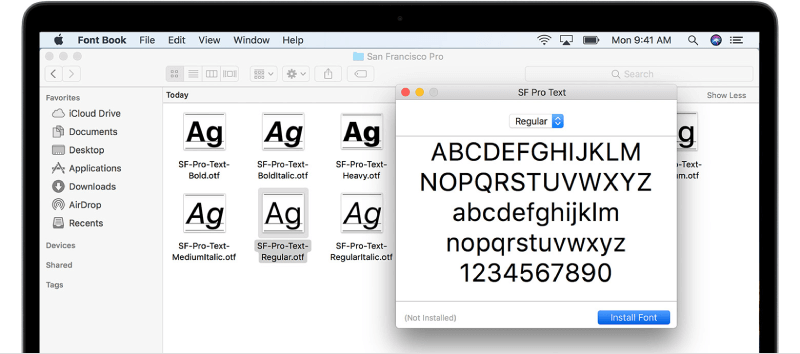
Step 2. When Font Book is installed, you need to access the font file you want to add to Word, then open it in the font preview window on Mac.
Step 3. Under the bottom of the font preview window, you can see the "Install Font" button. Press it and save the font to the Font Book software, then the font can be saved on your Mac.
Part 2. How to Add Fonts to Word on Windows/Mac
Now as we have downloaded the font we need on Windows and Mac, we can begin to add them to Microsoft Word as you need.
Add Fonts to Word on Windows
Step 1. As you have downloaded the font file, open the font control panel on Windows again.
Step 2. Directly drag the font file to the font control panel, then the font can be successfully added to your system.
Step 3. When the font is added, it will be automatically installed. If it fails to function, you need to manually install it by opening the file and clicking the "Install" button.

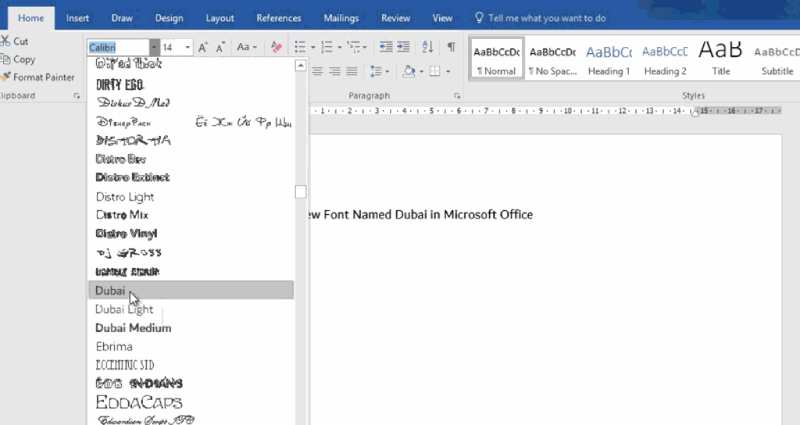
Step 4. When the font is installed on your Windows, it will also be added to your Microsoft Word. Open the software and you will find it in the font menu.
Add Fonts to Word on Mac
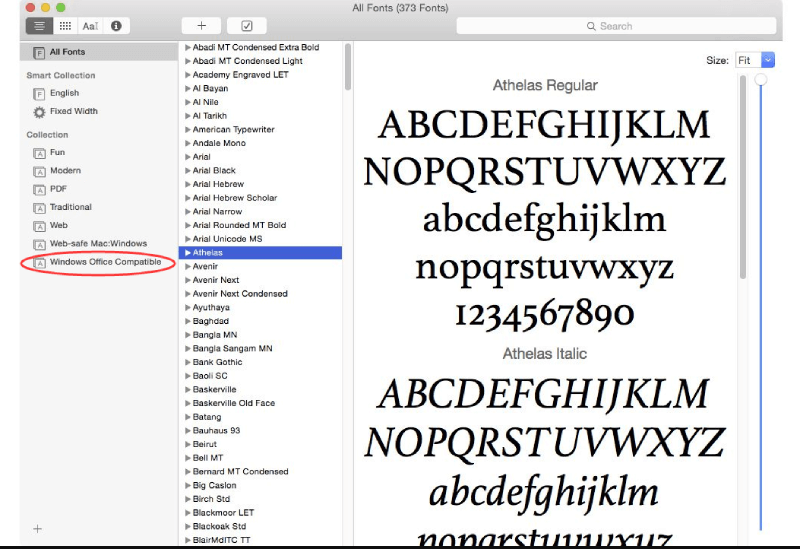
Step 1. Open "Font Book" on Mac and find the installed font you have added to the manager.
Step 2. There is a "Windows Office Compatible" section on the left of the Font Book software. You need to add the font here.
Step 3. When the font is added to "Windows Office Compatible" in "Font Book", now shut down your Mac and then reopen it. Then the font will be added to Word automatically.
Part 3. How Do I Use A Font That I Downloaded in Online Word
If you are not the Microsoft Word software users, but the one who is using its online platform, Office 365, adding a font to Word can be simple, too. If the font has been installed on your Windows or Mac, you can directly find it for adding.
Just go to the "Font Options" box on Office 365 toolbar, then type the name of the font file. When it shows the option for you, just add it and then you can apply it to the Word document online.
But a drawback of adding font through an online platform is that the font can only be seen by others who also installed the same font on their devices. Otherwise, people can't see the added font, because the font is not embedded in the Word document.
Part 4. How to Add Fonts to Word on Android/iOS
More people tend to use mobile phones as their working tools because they can improve the working efficiency and be more flexible. So actually, Microsoft Word also launched apps for Android and iOS devices. Thus, this part introduces you to the way to add fonts to Word on these two devices.
Add Fonts to Word on Android
Step 1. You need to root your Android device at first.
Step 2. When the device is rooted, you just need to install FX File Explorer and install its provided root add-on tool to your device. Then inside the program, also access the font file that has been installed on your Android device.
Step 3. Now you should copy the font by hitting the "COPY" icon on the top right of the toolbar. Then move the font to Microsoft Word.
Step 4. Inside Word, you should click the file icon and select "Explore data" > "Files" > "Data"> "Fonts".
Step 5. Now, directly paste the font you just copied to this page, then this font can be added to Word successfully.
Add Fonts to Word on iOS
Step 1. Firstly, on iOS, another software is needed to be installed as well, which is called AnyFont .
Step 2. Then you need to make sure the font file you need to add to Word is moved into the iCloud on your iOS device. Now go to iCloud and select to Export the font file. In the pop-up menu, select "Open In" > "Import with AnyFont".

Step 3. Now you will be moved to AnyFont with your font file added. Then just by clicking the "Aa" icon for installing it. When the font file is installed, you can find it in Microsoft Word immediately.
Conclusion
It is not complicated to add fonts to Word, no matter you are using what kind of devices, desktop, or mobile devices like Android and iOS. With some assisting software and the powerful functionality of Microsoft Word, you can use it to create more personalized outcomes. Now, you can start to try the tutorials to add fonts to Word on the device you need.
Was this article helpful? Thank you for your feedback!
YES Or NO