Searching for a solution to convert PDF to JPG for further editing? Found an excellent image on a PDF file that you want to "steal" for your usage but have no idea how to do that?
For PDF users, there are two different requirements for converting PDF to JPG. One is changing each PDF page to a JPG image, another is saving images from PDF document as JPG format. In this post, we gather 4 different methods to solve this problem on Windows, Mac, Smartphone or other devices. The solutions include using online converters, Adobe Photoshop, Mac Preview, and Adobe Acrobat Pro.
Contents
Part 1. Change PDF to JPG Online for Free with EasePDF
Part 2. How to Convert PDF to JPG on Windows 10/7/XP
Part 3. How to Convert PDF to JPG on Mac
Part 1. Change PDF to JPG Online for Free with EasePDF
Online PDF to JPG converter is the best choice for both Windows and Mac systems because it's a cross-platform solution. You can conveniently do the conversion via the Internet without downloading any software or plug-in. To pick the best online converting tool, you can refer to 4 Best Online PDF Converters. Here we recommend to use EasePDF.
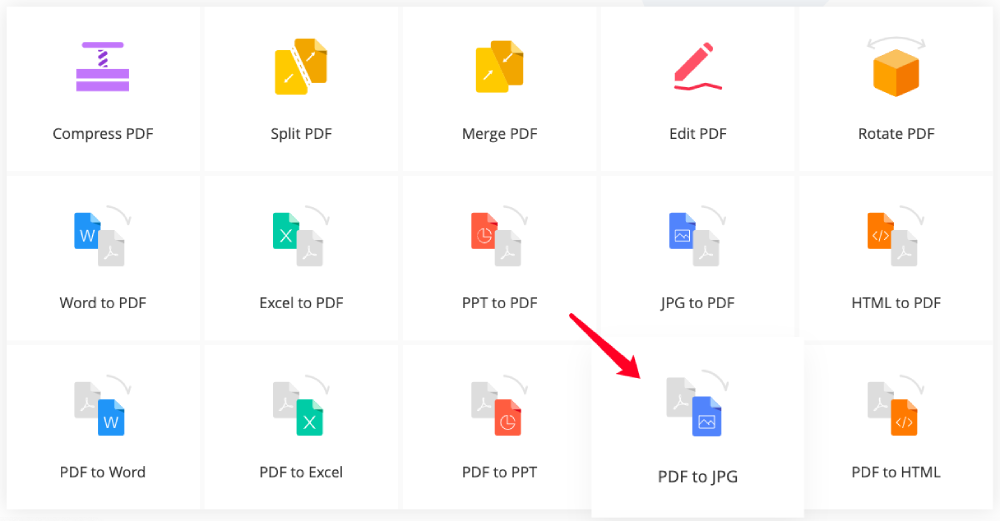
Step 1. Go to EasePDF homepage, and choose "PDF to JPG"
Step 2. Upload your PDF document
Three uploading methods:

Step 3. Start converting PDF to JPG
When the file is successfully uploaded, a new window will show your the conversion options. You can choose either to convert all pages to JPG images or to extract all images in the PDF file as JPG format. There are three different output image quality from low, medium to high for you to decide. If you choose "Low", you'll get a small size yet low pixel image. If you choose "High", the converted JPG photos will be with high pixel yet much bigger size. Our suggestion is to choose "Medium" to get a balance.
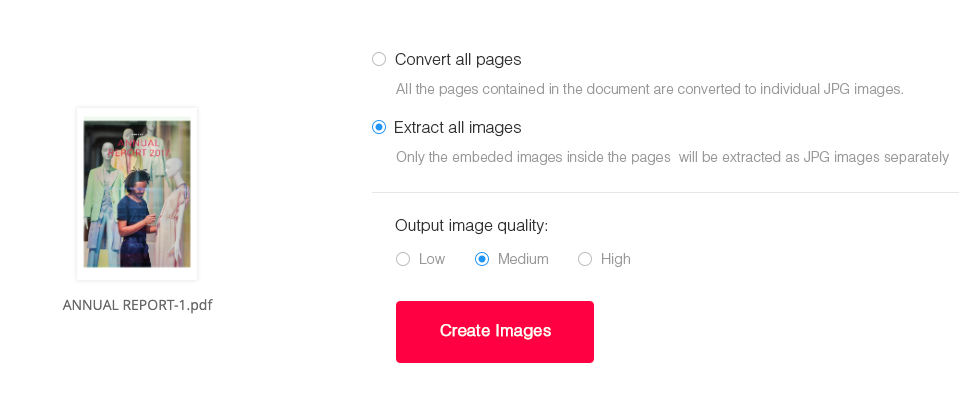
After you decided the conversion type and image quality, click the "Create Images" button to start converting PDF to JPG. The converting speed depends on 3 factors: the size of the PDF file, your network connection, and the server performance. EasePDF supports file size up to 50 MB. However, the bigger size, the lower speed. We suggest you to Compress and reduce the PDF size before converting.
Step 4. Download the converted JPG images
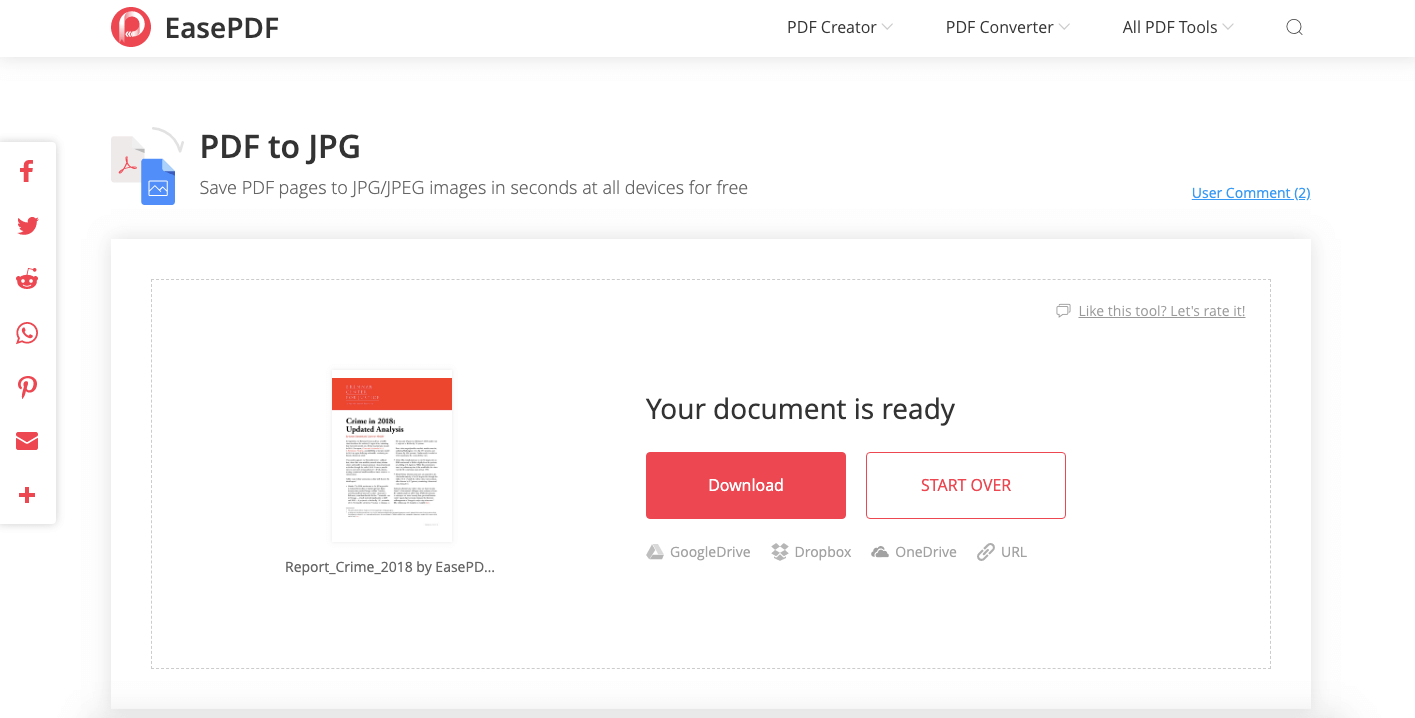
When the conversion process is completed, you can download the converted JPG images by clicking the "Download" button. If you want to store the converted photos to your online cloud drive or share with others, just click on the "Google Drive", "Dropbox", or "URL" tab.
If you find the quality fits your expectations and would like to do more conversion, click on "Start Over" to start a new task. You can also try other online tools like JPG to PDF Converter, PDF to PPT Converter, PDF Editor, etc.
Part 2. How to Convert PDF to JPG on Windows 10/7/XP
For windows users, there’s a simple solution to convert PDF to JPG by using Adobe Photoshop, if you already have it installed on your computer. For those who haven't, you can use Adobe's free trial for seven days.
Step 1. Open your PDF file in Photoshop
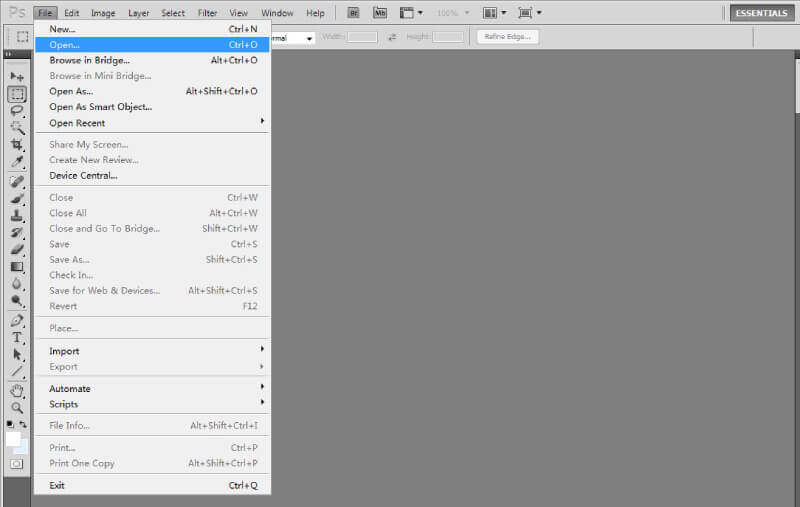
Run Adobe Photoshop on your Windows computer, click the "File" tab on top of the interface, then select "Open" to import the PDF file that needed to convert.
On the "Import PDF" dialog, you can select to import pages or images. To convert pages from PDF to JPG, choose "Pages". To extract photos from PDF file, select "Images".
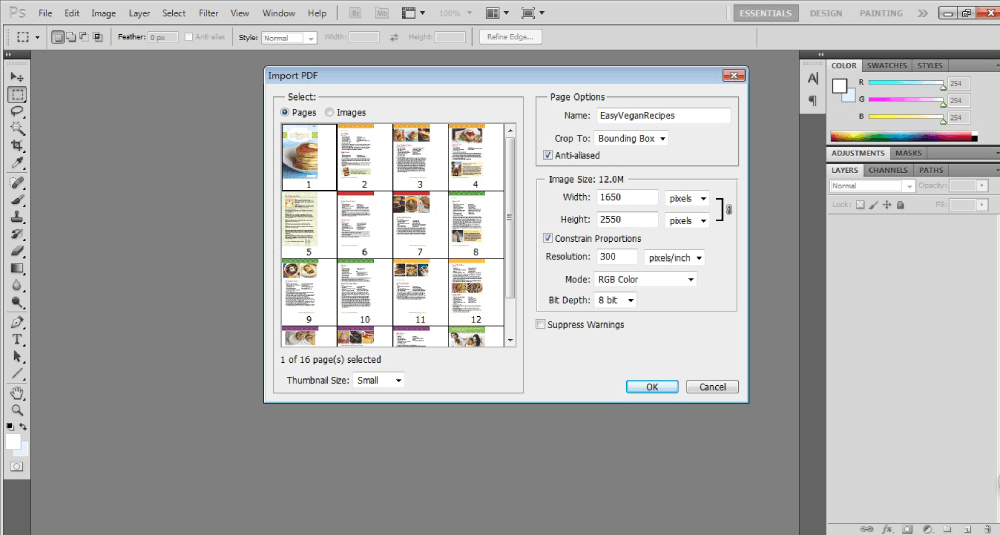
Note:
1.Press the "Ctrl" key on the the keyboard, and click on the pages/images on the preview window to select multiple pages or images.
2.Click on the first page/image, press the "Shift" key on keyboard, then click on the last page/image to select all pages or images.
3.For importing pages, you can change the page options and image size on the setting area.
When finishing all these settings, click "OK", and your selects pages/images will be imported to Photoshop immediately.
Step 2. Create a "Save as JPG" action record
This step is for multiple PDF page conversion only, if you only need to convert a single page, just skip this page. Since we have multiple pages to save as JPG format, we need to create an action to record the "save as JPG" action for batch conversion later.
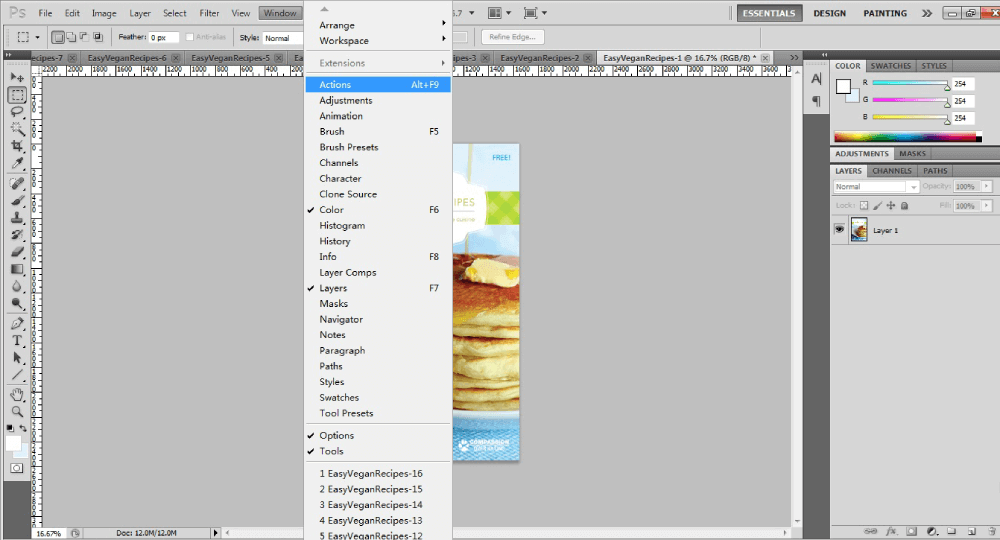
Firstly, click on the "Window" tab, select "Actions" on the drop-down menu. Then you'll see an "Actions" window appearing at the right bottom.
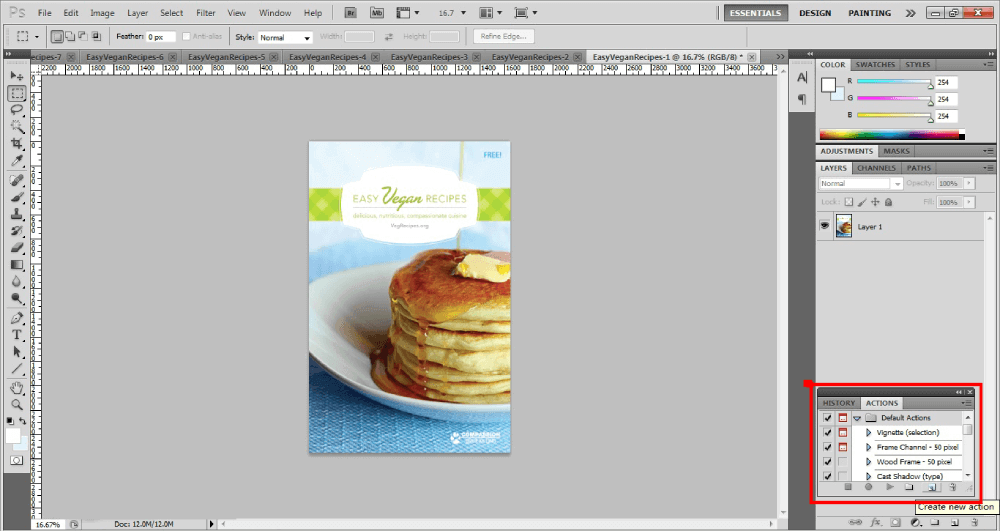
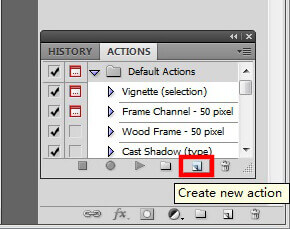
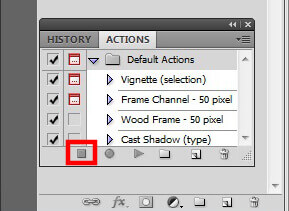
On the "Actions" window, click the "Create new action" tab.
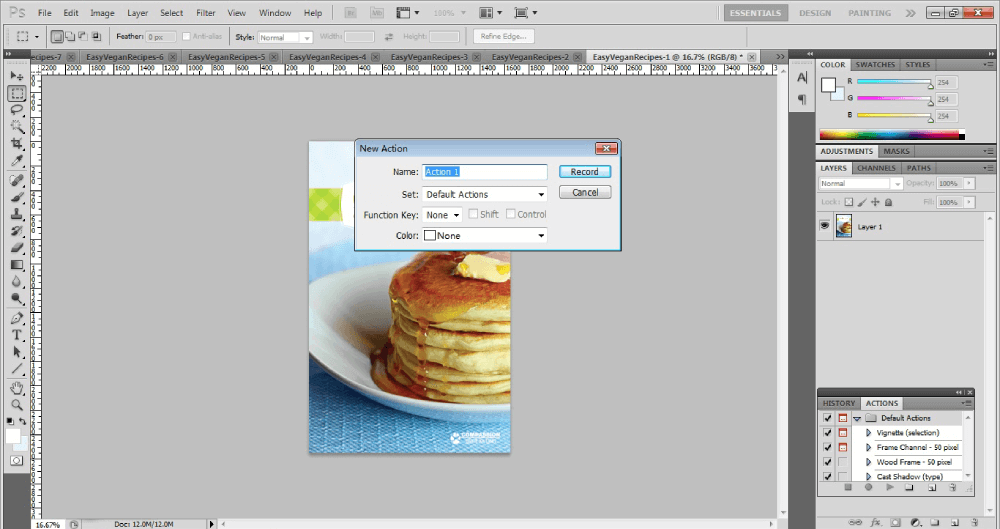
On the newly opened window, name this action and click "Record".
Step 3. Save a PDF page as JPG
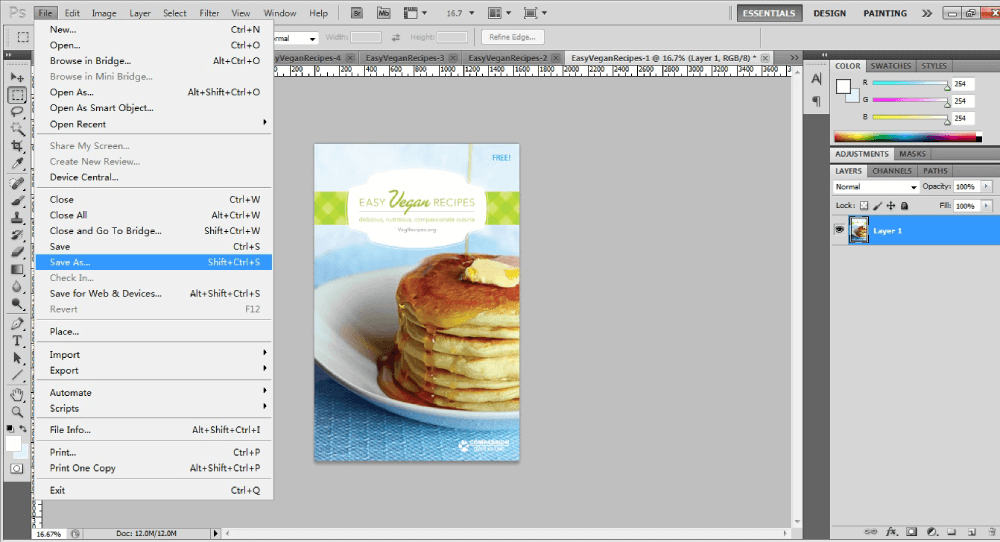
On the "File" section, choose "Save as" on the drop-down menu.
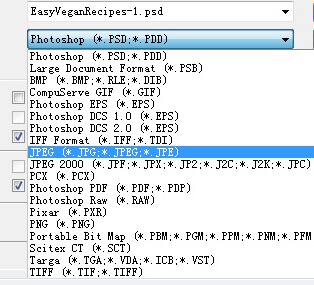
On the "Save As" window, choose "JPEP" from the drop-down file type list.
Then set the JPEG options and click "OK". Now you've got one PDF page converted to JPG image. Next, go to the "Actions" window to stop the recording by clicking on the "Stop" button. And this "Save As JPG" action is already be recorded.
Step 4. Batch conversion for multiple PDF pages
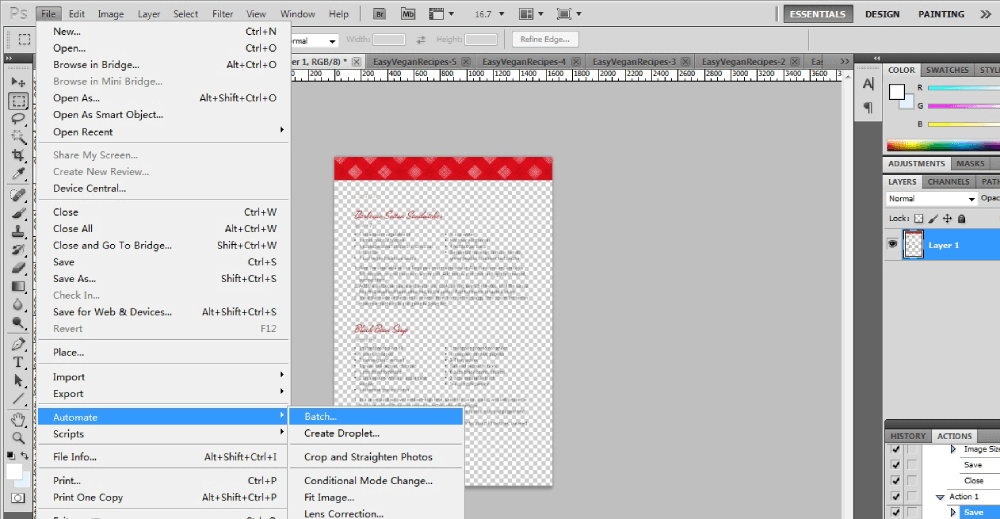
Go to "File" tab, choose "Automate", and select "Batch".
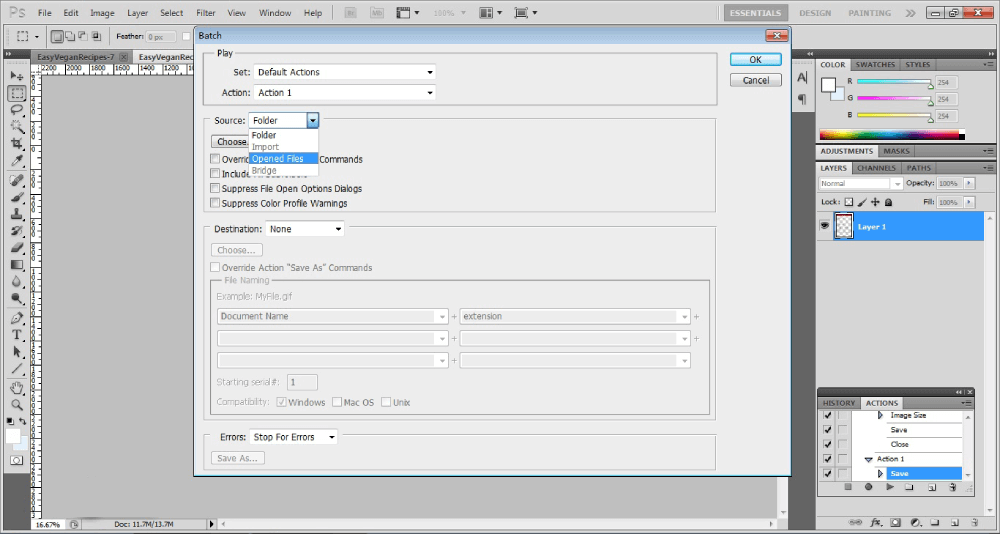
On the "Batch" window, select the action that you create earlier. Choose "Opened Files" on the "Source" section. Now click "OK".
You'll see every PDF page you imported to Photoshop being turned into JPG image one by one automatically. When the auto-conversion stop, your PDF file is completely converted.
As you can see, converting PDF to JPG with Photoshop is way more complicated than just using an online converter. We highly recommend Windows users to use EasePDF Online Converter as your first choice, which enables you to directly change all PDF pages to JPG images in seconds, since EasePDF has no platform or device limitation at all.
Part 3. How to Convert PDF to JPG on Mac
Mac users can open and read a PDF document via a build-in app - Preview. This app also provides an easy and direct option to save a PDF page as a JPG image.
Step 1. Open PDF file with Preview
Put the mouse on the PDF file, right-click to open a menu. Click "Open with" and choose "Preview". Once you open it, scroll to the page you want to convert to JPG.
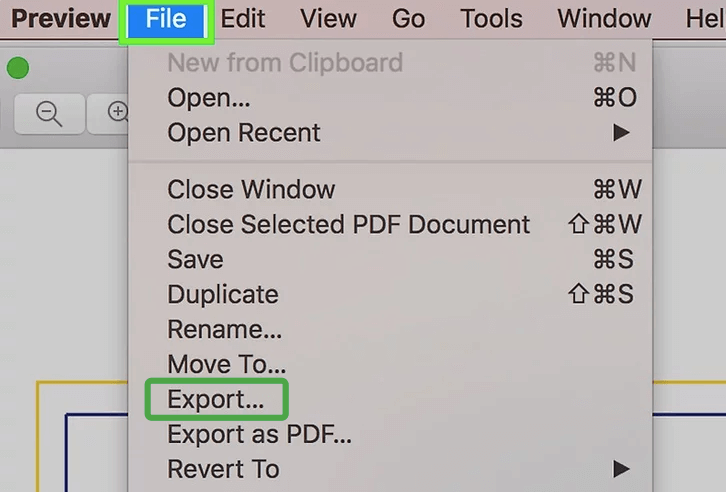
Step 2. Pull down the "File" menu on the top bar and select "Export"
Step 3. Export PDF to JPG
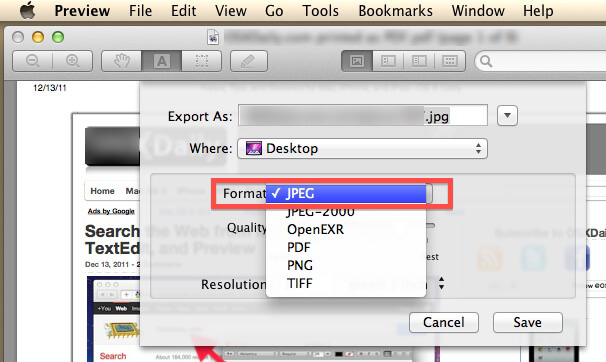
On the new window, pull the "Format" drop-down box and select "JPEG" as output format. Fill in a file name for the converted JPG image in the "Export As" box. You can choose any location to save the JPG on the "Where" box. After setting the "Quality" and the "Resolution" options, click "Save" to export your PDF page as a JPG photo.
Step 4. Repeat step 3 to convert PDF pages
You can only convert one PDF page to JPG using the Preview app on Mac, so if you have more pages to convert, you'll need to repeat this "export as" step until the last page. If you don't want to go through the trouble, just use an online free converter like EasePDF. It allows you to change the whole PDF file to JPG in one conversion.
Part 4. How to Convert A PDF to JPG with Adobe Acrobat Pro
Step 1. Open PDF in Adobe
First of all, install Adobe Acrobat Pro on your computer. Run the program and click on "File" on the top of the interface, click "Open" to access your PDF file.
Step 2. Once the PDF file was opened, click "Export PDF" on the right panel
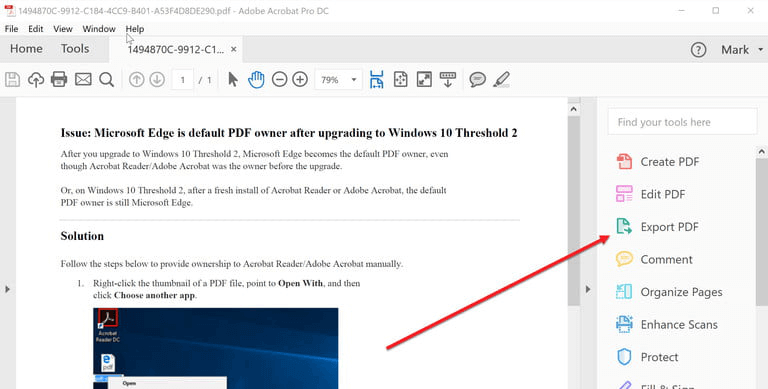
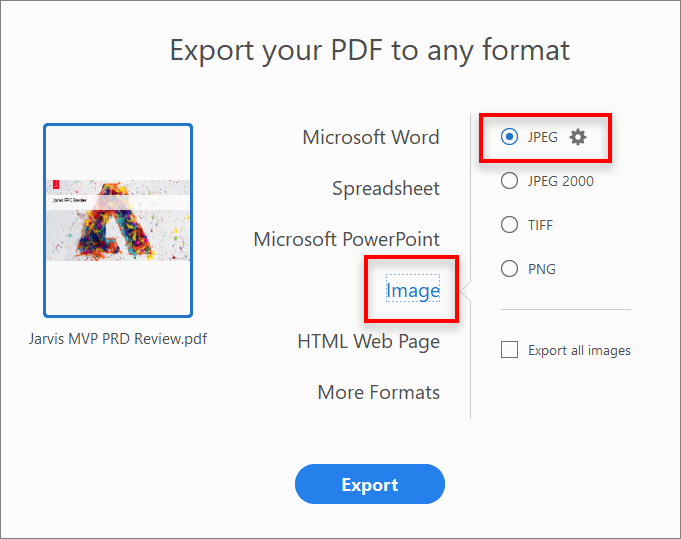
Step 3. Choose JPEG as export format
On the pop-up export window, choose "Image" as an export format, and click on "JPEG". If you want to export all photos from the PDF files instead of converting all PDF pages to JPG images, tick the "Export all images" option.
Step 4. Save PDF as JPG
When everything is set up, click the "Export" button. Choose a location to save your converted JPG images on the "Save As" dialog. Now click "Save" and the conversion will start processing.
Note: You can click the gear icon to do the conversion settings for the JPG format.
1. "Export All Images As JPG Settings": specify the File Settings, Extraction settings, Conversion, and Color Management for the converted JPG.
2. For "Exclude Images Smaller Than", choose "No Limit" to extract all images, or choose the smallest size of the image to be extracted.
Conclusion
To help you compare more clearly, we've summarized the pros and cons of these 4 PDF to JPG converting solutions.
1. Using online PDF converter EasePDF
Pros: Free, simple, 3 output quality options, 2 conversion mode, multiple PDFto JPG conversion, available for Windows/Mac/Smartphone.
Cons: Rely on Internet connection.
2. Using Adobe Photoshop
Pros: Manage output quality for each converted image, available for Windows & Mac.
Cons: Complicated steps, NOT free!
3. Using the Preview app on Mac compute
Pros: Free, optional output quality and resolution, optional PDF page(s) conversion.
Cons: Only convert one page per time.
4. Using Adobe Acrobat Pro
Pros: Convenient, 2 conversion mode, available for Windows/Mac OS.
Cons: NOT free!
If you have any questions or have better ideas on how to convert PDF to JPG, please write a comment. Feel free to subscribe to our newsletter for the latest topics.
Was this article helpful? Thank you for your feedback!
YES Or NO