You must have some time when you want to add a signature to the Microsoft Word file. For example, when you have created an excellent writing work and want to state the ownership of this file before sharing with others, you need to add your signature to it. Today many people work from home because of COVID-19, so even you need to sign a business document, you can only do it online, then to insert digital signature in Word without printing the file out is needed.
But how to insert electronic signature in Word on your computer like a Windows or Mac? To solve this problem, we have found the three most popular ways and some useful tools for you. Now, let's see how to insert signature in Word very easily.
1. Use Word to Insert Signature Directly
The simplest way to insert signature to the Word file you need is to scan your handwritten signature into a picture, and then add it to the file through Word.
Step 1. Write your signature on a paper at first, then scan it using any scanner (such as the "Scan Documents" function in iOS's Notes app) for turning it into a picture.
Step 2. Send the scanned signature picture to your computer, and then you should open the Word document which you want to insert signature to.
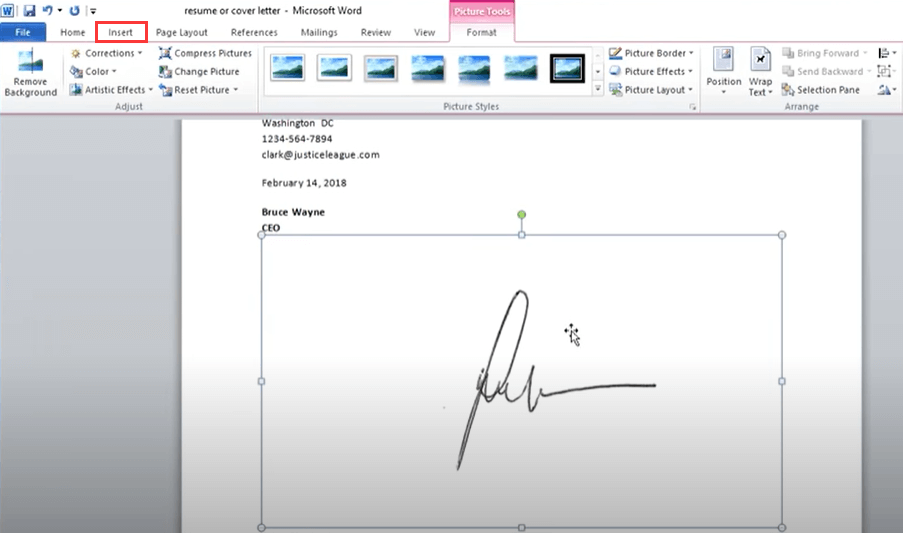
Step 3. Now click the "Insert" option on the toolbar, and then select "Pictures" > "Picture from File...".
Step 4. Please select the picture that contained your scanned signature from the computer, and then you can easily add it to the Word file.
2. Insert Signature Line in Word for Signing
Instead of inserting a signature picture, some people may need to insert signature line into the Word document, and then print it out for signing their names directly on it. So, how can we insert just a single signature line in Word? Easy! You only need to follow 4 steps!
Step 1. Open the Word document which you want to insert signature line to on your computer.
Step 2. The second step is similar to insert a scanned signature just shared with you above. You need to click "Insert" on the toolbar of Word, and then choose "Signature Line" > "Microsoft Office Signature Line".
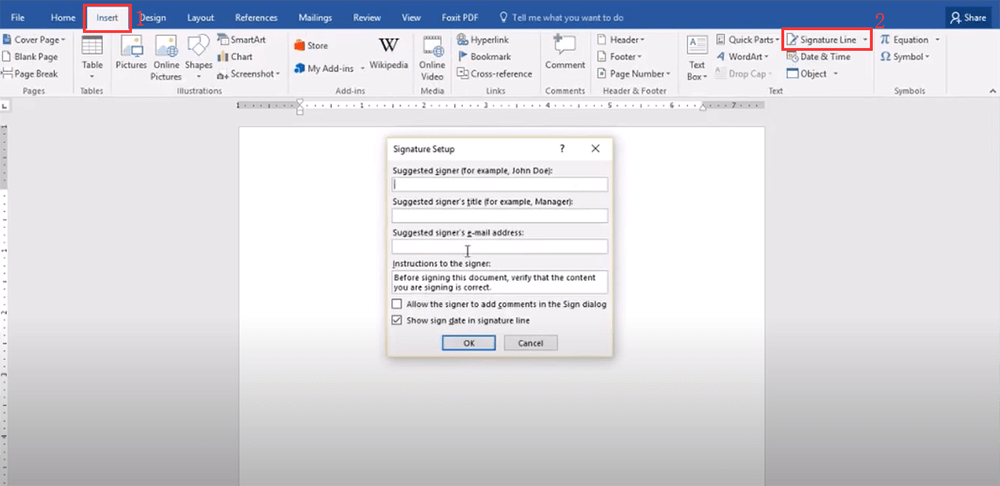
Step 3. Now a window box will appear, which is "Signature Setup". Then you need to enter information that will appear under the signature line after you insert it to the Word document. The information you can enter includes:
- Suggested signer
- Suggested signer's title
- Suggested signer's e-mail address
- Instructions to the signer
There are other two options you can tick according to your needs, including:
- Allow the signer to add comments in the Sign dialog box
- Allow the signer to add comments in the Sign dialog box
You can tick both of them.

Step 4. The final step is just clicking "OK" to insert signature line to Word and also the information you have added in Step 3.
3. Insert Signature in Word with PDF Solution Online
Sharing a Word document only with a signature can't do great help to protect your content from being edited or changed by others, because Word allows everyone who gets the file to edit! Even you have inserted a signature in Word, it doesn't help protect the content at all.
As a recommendation, I would suggest you convert the Word document to a PDF at first (because the content of a PDF document can't be altered easily), then sign the PDF file instead. EasePDF can help you do this set of work very easily. Let's see the tutorial.
Convert Word to PDF at First
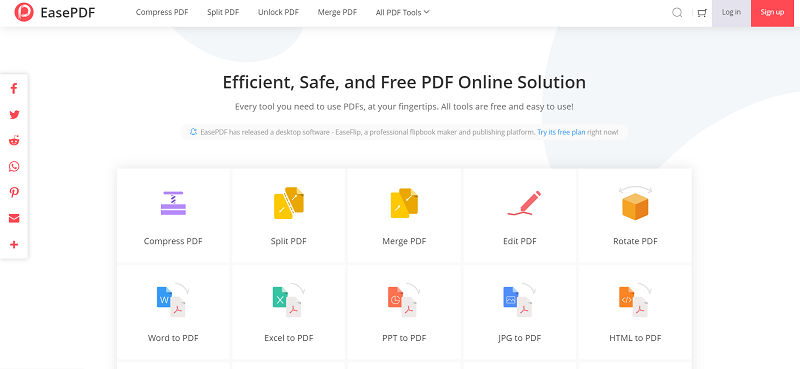
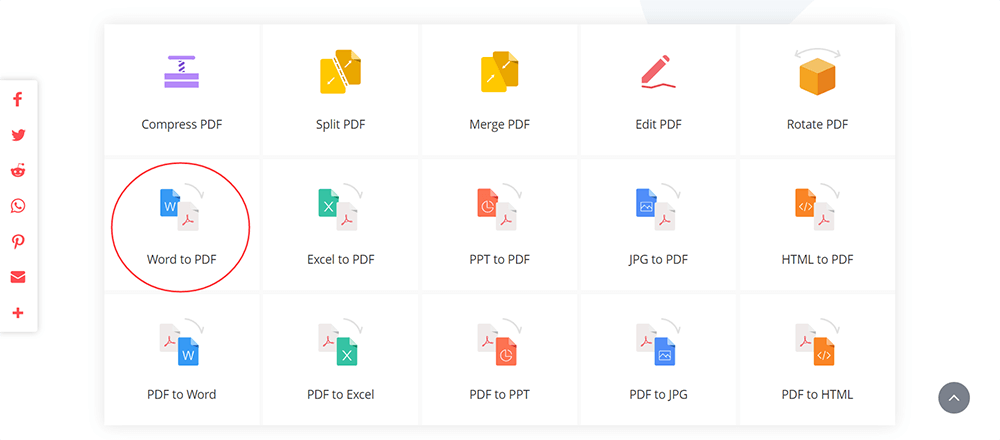
Step 1. When you have gone to EasePDF website, you can easily find the Word to PDF tool provided on EasePDF's homepage. Just enter it.
Step 2. Click the "Add File(s)" button to add the Word file you want to insert a signature to here. If you saved the Word files on other platforms such as GoogleDrive, Dropbox, and OneDrive before, you can click the appropriate button for adding the files from these platforms. Also, using a URL that contains the Word files for adding is workable.
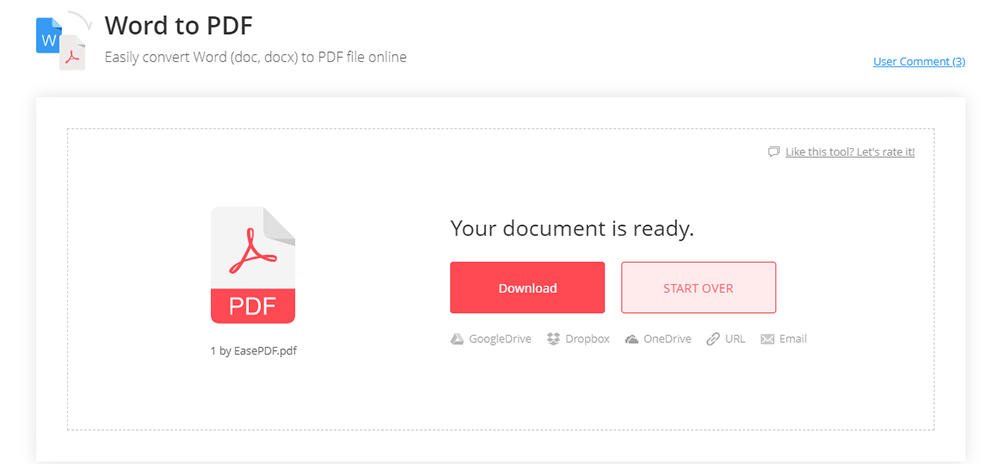
Step 3. Just after adding the Word files, EasePDF will convert the files to PDFs immediately. When the process is completed, you can hit the Download button to save the zip file to your desktop directly.
Insert Signature to A PDF File
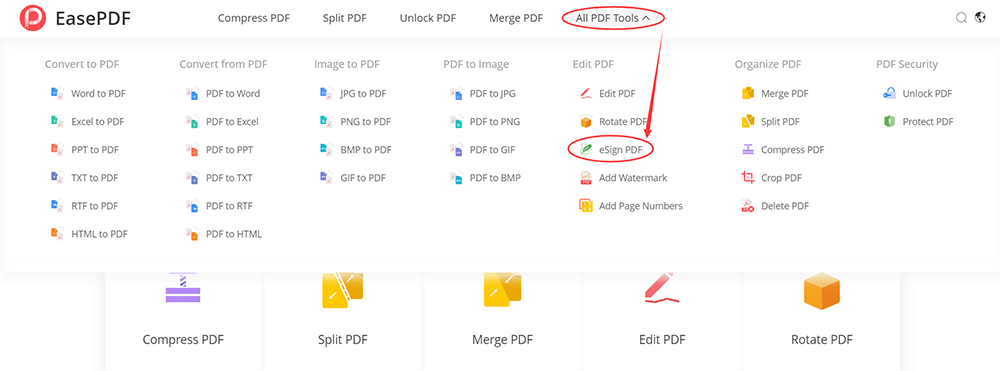
Step 1. After getting the converted PDF file, you need to go back to EasePDF and find the "eSign PDF" tool.
Step 2. Now press the "Add File(s)" button to upload the PDF file you need to insert a signature to.
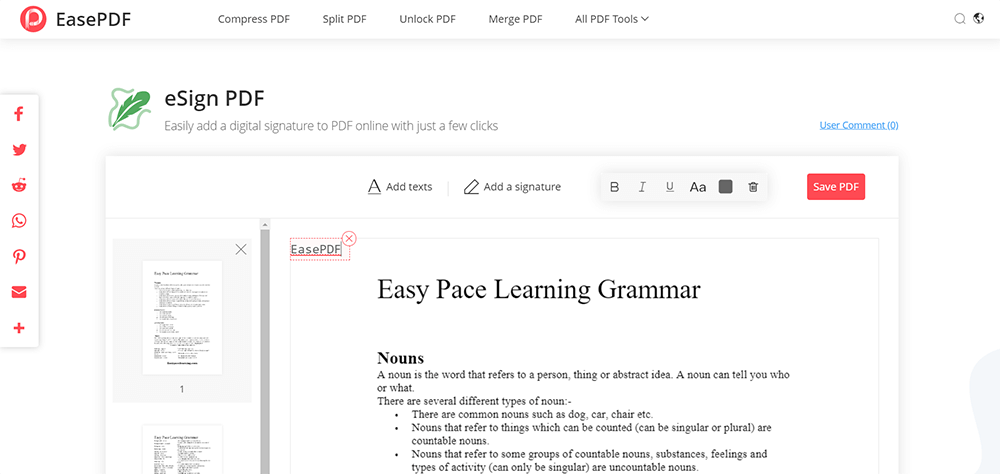
Step 3. After adding the PDF file to EasePDF, you can select to add a digital signature by clicking the "Add texts" option, or use "Add a signature" > "Create a signature" to insert the handwritten signature or image to the PDF file. When you finish adding, press the "Save PDF" button.
Step 4. After the PDF file is added a signature successfully, EasePDF will allow you to download it through clicking on the "Download" button. You can also save the file on a cloud platform like GoogleDrive, OneDrop, and Dropbox, or share the file with other people through URL and email (but you need to aware that the URL is only valid for downloading the file within 24 hours since you get the PDF file with your inserted signature).
Conclusion
It is easy to insert signature to Word using both Microsoft Word software and EasePDF, the professional online PDF platform (convert Word to PDF and then insert the esign to it). If you have more ways to share, please leave your comments below.
Was this article helpful? Thank you for your feedback!
YES Or NO